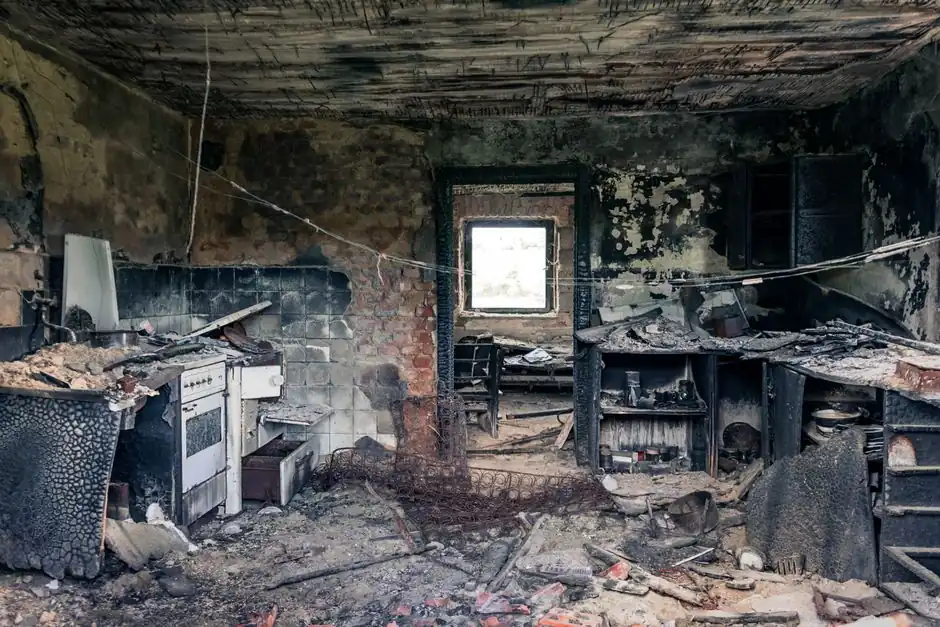
Water damage can strike unexpectedly, leaving homeowners in a panic. If your ceiling has suffered from a leak or flooding, knowing how to dry out a water-damaged ceiling effectively can save you time and money. In this guide, we will discuss the steps you need to take to dry your ceiling properly and when to seek professional help in Tampa.
Understanding Water Damage
Water damage in ceilings often arises from various sources, including roof leaks, burst pipes, or plumbing issues. In Tampa, where heavy rains and storms are common, understanding how water affects your ceiling is crucial. Water can weaken the structural integrity of your ceiling and promote mold growth if not addressed promptly.
Initial Steps to Take
Before you start drying your ceiling, take the following initial steps:
- Turn Off Electricity: Ensure that the power to the affected area is turned off to prevent electrical hazards.
- Identify the Source: Locate the source of the water damage to prevent further issues. This could involve checking for leaks or burst pipes.
- Remove Furniture and Valuables: Move any furniture or items that could be damaged or obstruct your drying efforts.
Effective Drying Methods
Once you've taken initial precautions, you can begin the drying process. Here are some effective methods for drying ceilings in Tampa:
1. Use Fans and Dehumidifiers
Position fans to circulate air around the affected area. Dehumidifiers can help remove moisture from the air, speeding up the drying process. This is particularly effective in humid climates like Tampa, where moisture can linger.
2. Remove Wet Materials
If your ceiling materials are saturated, consider removing portions that cannot be dried effectively. This may include drywall or insulation. If you need assistance, our Ceiling Water Damage Repair Tampa FL services can help you safely remove and replace damaged materials.
3. Apply Heat
Using heat can accelerate drying. Space heaters can be used cautiously to warm the area, but ensure proper ventilation to avoid fire hazards.
4. Monitor Moisture Levels
Utilize a moisture meter to check the moisture levels in your ceiling. This will help you determine when it is adequately dried and safe to restore.
Common Mistakes to Avoid
While drying out a water-damaged ceiling, avoid these common mistakes:
- Ignoring Mold Growth: Mold can develop quickly in damp conditions. If you notice mold, address it immediately with our Ceiling Mold Remediation Tampa FL services.
- Not Ventilating: Failing to provide adequate ventilation can trap moisture, prolonging the drying process.
- Rushing the Process: Proper drying takes time. Rushing can lead to further damage or mold issues.
When to Call a Professional
If the damage is extensive or if you are unsure about the drying process, it's best to call a professional. Tampa Water Damage Pros offers Emergency Water Extraction Tampa FL services to address severe water damage situations. Our team is available 24/7 to assist you with ceiling drying and restoration.
Frequently Asked Questions
What is the best way to dry out a water-damaged ceiling in Tampa?
Using fans, dehumidifiers, and removing wet materials are effective methods for drying out a water-damaged ceiling in Tampa. Monitoring moisture levels is also crucial.
How long does it take to dry a ceiling after water damage?
The drying time can vary based on the extent of the damage and environmental conditions. Typically, it takes 24 to 48 hours for a ceiling to dry completely.
Can I dry my ceiling myself in Tampa?
Yes, you can dry your ceiling yourself, but ensure you follow proper safety protocols. If the damage is significant, consider contacting professionals for assistance.
Get Help with Ceiling Water Damage Repair in Tampa
If you are dealing with a water-damaged ceiling, don't hesitate to reach out for help. Contact us at (645) 220-2036 for expert assistance in Tampa.